In DaVinci Resolve version 18.6, there is an excellent global workflow available. Up to this point, there has been an opportunity to share projects through Blackmagic Cloud and media separately through cloud platforms such as Google Drive or Dropbox.
In this new version, Blackmagic Cloud introduces a new feature Blackmagic Cloud Storage Beta. The process and workflow involving multiple departments are described below:
Project Manager or Editor (Create a project)
To start, a Blackmagic Cloud account and a Cloud Project must be created. Certain steps need to be followed to set this up correctly on workstations.
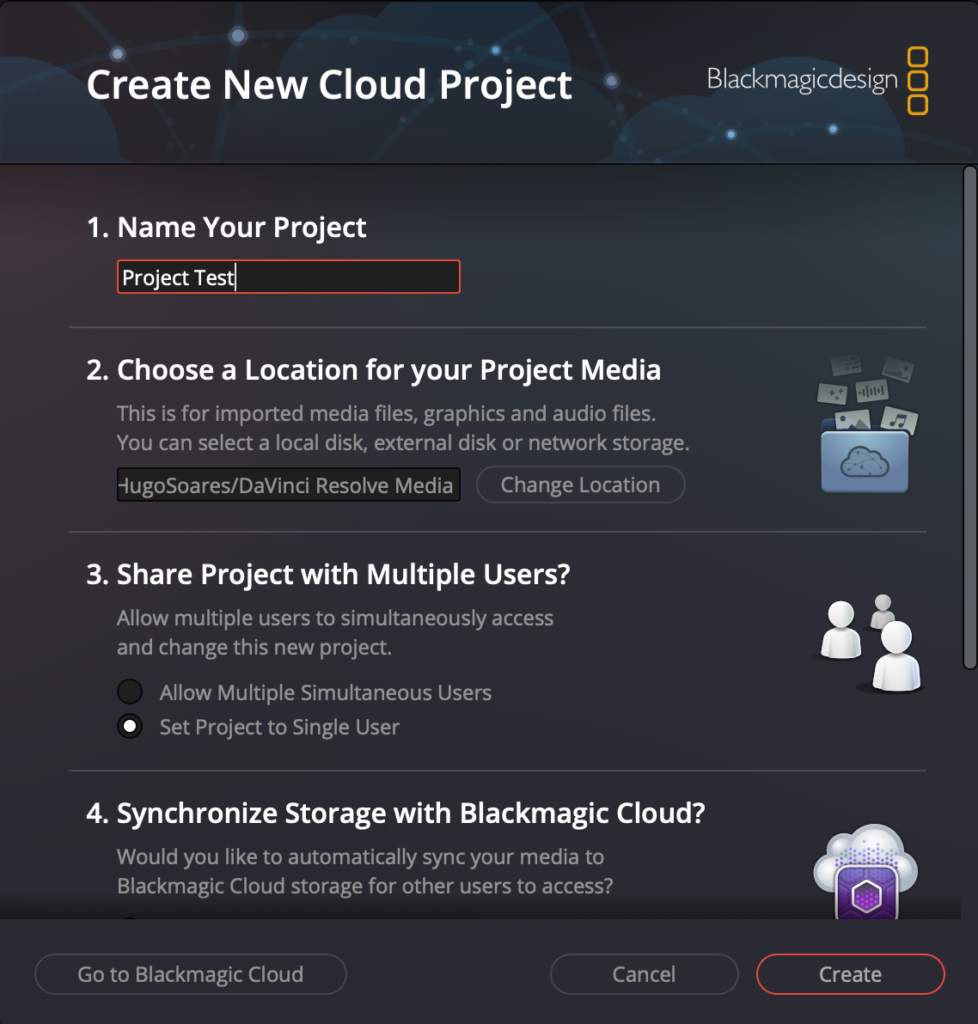
Select a Location for Your Project Media
Decide whether you want to automatically sync only the proxy files or the original files generated by DaVinci Resolve when you create a Cloud Project. You’re designating a folder for DaVinci to download the files from the cloud and place them in your local directory.

Share Project with Multiple Users
If you are working with different people, you should activate option 1..
- Allow Multiple Simultaneous Users
- Set Project to Single User

Synchronize Storage with Blackmagic Cloud
Here, you will determine what Resolve will do when importing media for your project. If you expect to work with someone who requires more than proxies, such as a colourist, you should choose to Sync Proxies and Originals.
- Don’t Sync Media
- Sync Proxies Only
- Sync Proxies and Originals

Allow Remote Camera Access
In this setup, if you are recording and wish to import clips directly into your Resolve from the set, you should enable option 1. Otherwise, you can leave it off if you are not using Blackmagic Cameras.
- Allow Remote Cameras Access
- Don’t Allow Remote Cameras

Import Media to Media Pool
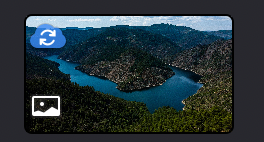
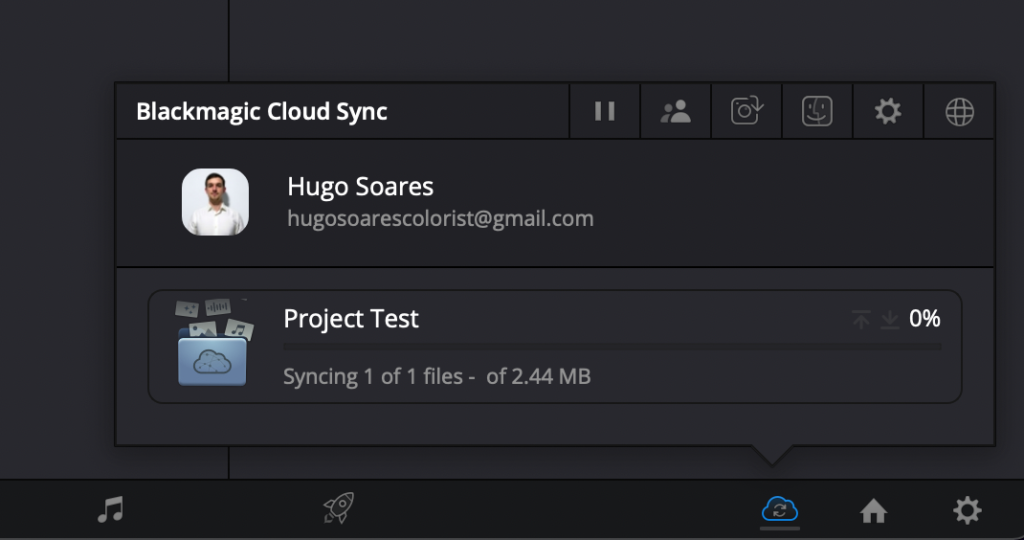
When adding media to the media pool, you will notice new icons on each clip to indicate if your clips are uploading. The progress can be monitored in the lower right corner with the Blackmagic Cloud Sync button.
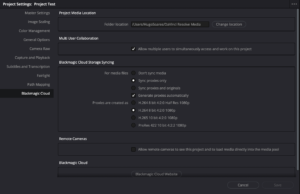
In Project Settings, you have the opportunity to change the location, enable multi-user support, sync properties, and configure proxy details such as the codec. Additionally, you can enable the automatic proxy generation when adding a clip to the media pool.
Summary of this process:
- Import a clip to the media pool
- DaVinci Resolve begins transcoding the file and generates a proxy based on the project settings.
- DaVinci uploads the proxy to the cloud and the original file if selected in the Blackmagic Cloud Storage Syncing settings.
Share the Project with Collaborators Using Proxy Files
Assistant Editor or Another Editor
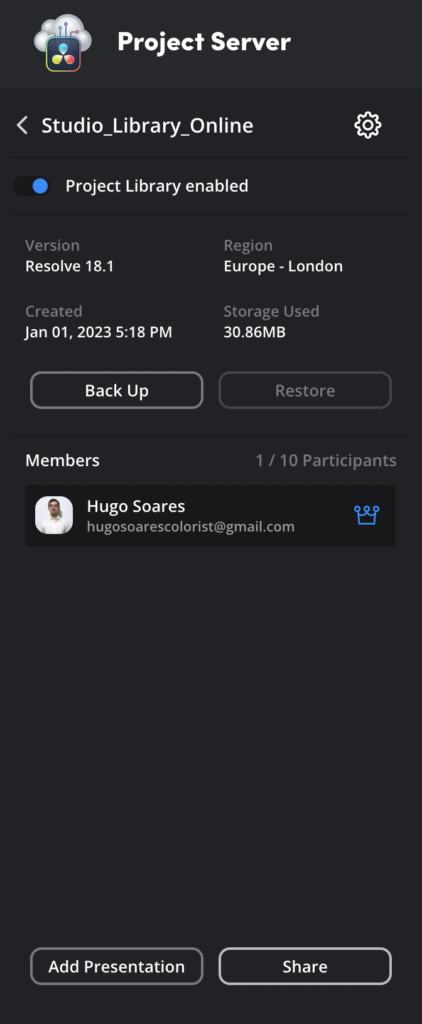
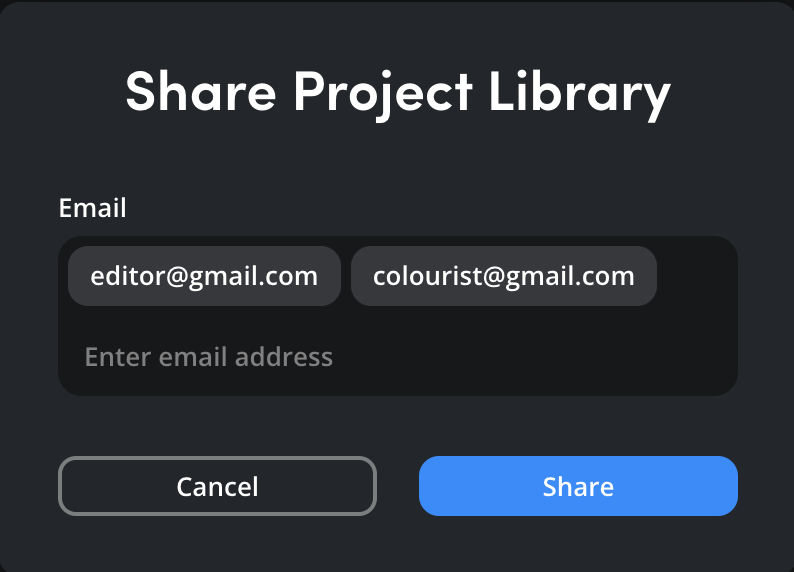
At this stage, another editor can open the project on Blackmagic Cloud. When they open the project for the first time, a pop-up appears. They need to set up the Location of the Project Media and the Synchronization Properties as follows:
Choose a Location for the Project Media
Synchronize Storage with Blackmagic Cloud
- Don’t Sync Media
- Sync Proxies Only
- Sync Proxies and Originals
The assistant editor or another person can then easily start working with proxy media that DaVinci Resolve is downloading.
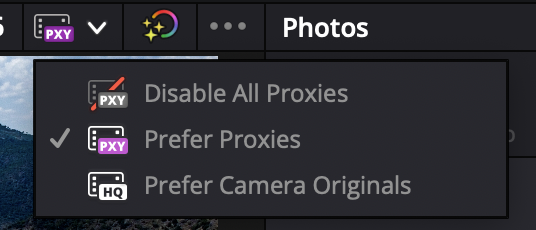
Share the Project with Collaborators Using Original Files
Color or Sound Process
Add a Colourist or Finishing Process
- Now it’s time to bring in a colourist to finish the project. After sharing the project with the colourist, they have the opportunity to choose their location, preferably on fast hard drives, and select ‘Proxy and Original Media.’ They can start organizing their timeline with groups, for example, and view all files with proxy files that DaVinci Resolve generated automatically. When DaVinci Resolve finishes downloading all the original files, it automatically replaces the proxy files with the originals.
Add a Sound Professional
- Now it’s time to include a Sound Professional to finish the project. After sharing the project with the professional, they have the opportunity to choose their location and select ‘Proxy and Original Media.’ In my opinion, they should work with the original files, especially for audio processing.
Rendering the Finals
Mastering with a Render Machine
If you have someone dedicated to mastering your production, you can share the entire project along with your original files, enabling them to render the final masters.
My notes
This workflow is impressive, and there’s room for improvement with some details. I would like the option to choose which clips I want to upload as original files. In a scenario with 20TB of footage and a final master using only 1TB of footage as a colourist, I don’t need to download the entire 20TB.
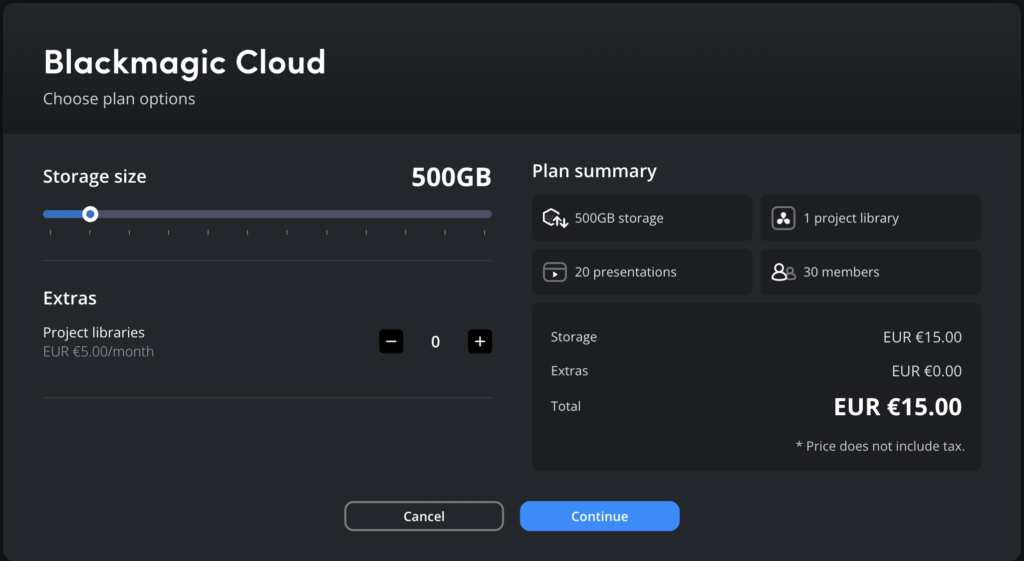
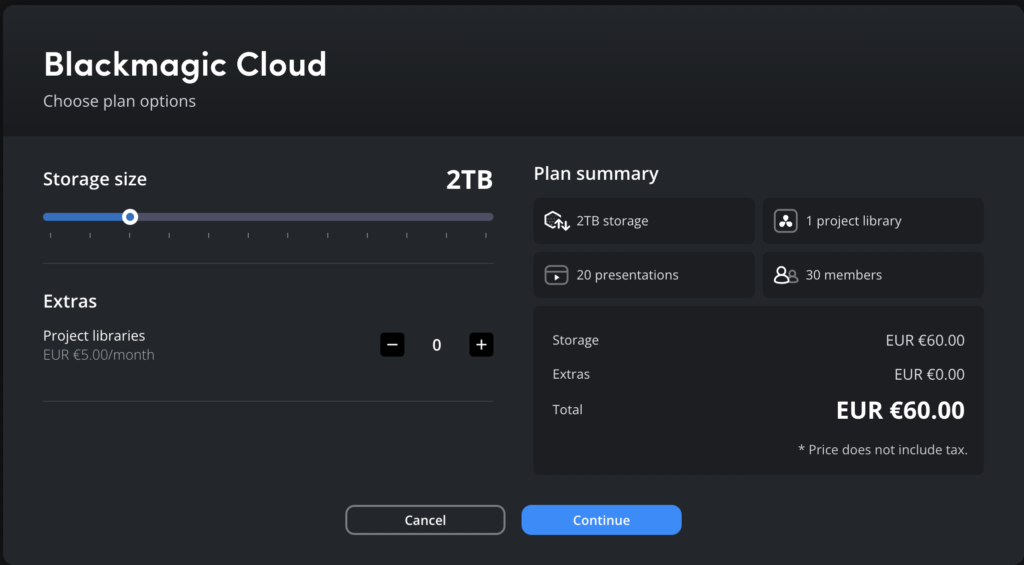
Regarding storage on Blackmagic Cloud, it costs 15€ per 500GB of storage or 60€ per 2TB. We have more options.
This new feature will significantly reduce the time spent dealing with cloud platforms like Google or Dropbox. The previous workflow was effective but required experience in relinking files.
With this new feature, Blackmagic will handle this process for you. Simply create a project and share it with your collaborators.
