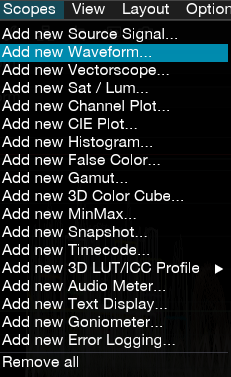
In our day-to-day work as colourists, we encounter a wide range of projects and concepts. Consequently, we frequently need to adhere to precise color guidelines for products or brands. At times, we also grapple with fatigue and the way our brains perceive colours. To aid us in this process and complement our vision, we rely on essential tools: Video Scopes.
There are various types of scopes, in which we can analyse various aspects of the image: luminance, RGB values, saturation, hue and much more.
In this article, I will delve into the capabilities of this software and demonstrate how it can be employed to enhance your productions in Davinci Resolve. I will also share with you an advanced set of scopes designed for professional colorists and DITs, discuss my layout and the specific scopes I use.
Introduction: What are Video Scopes?
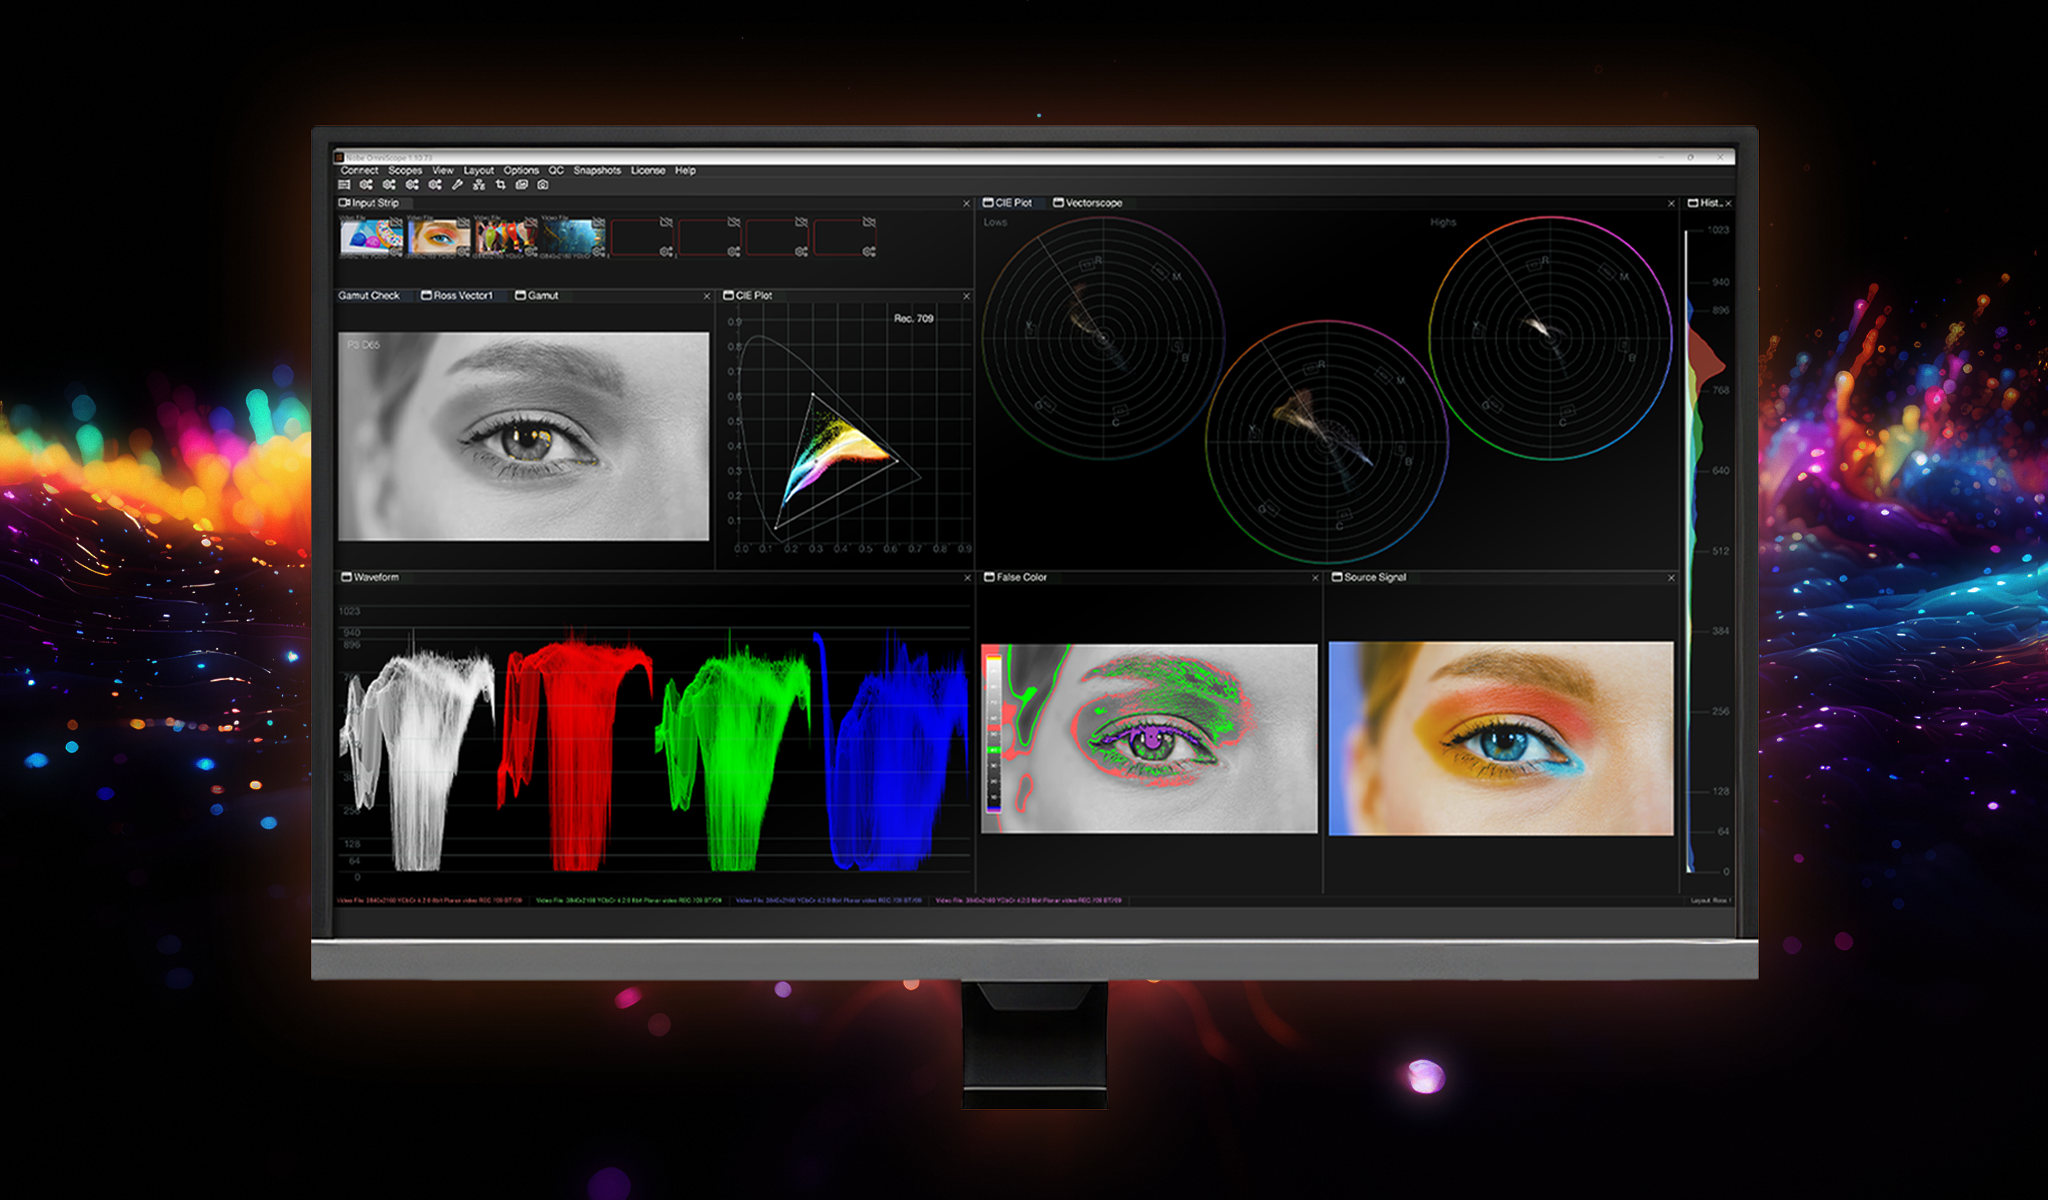
Scopes provide us with a versatile set of tools to scrutinize various elements within an image, including luminance, RGB values, saturation, hue, and more.
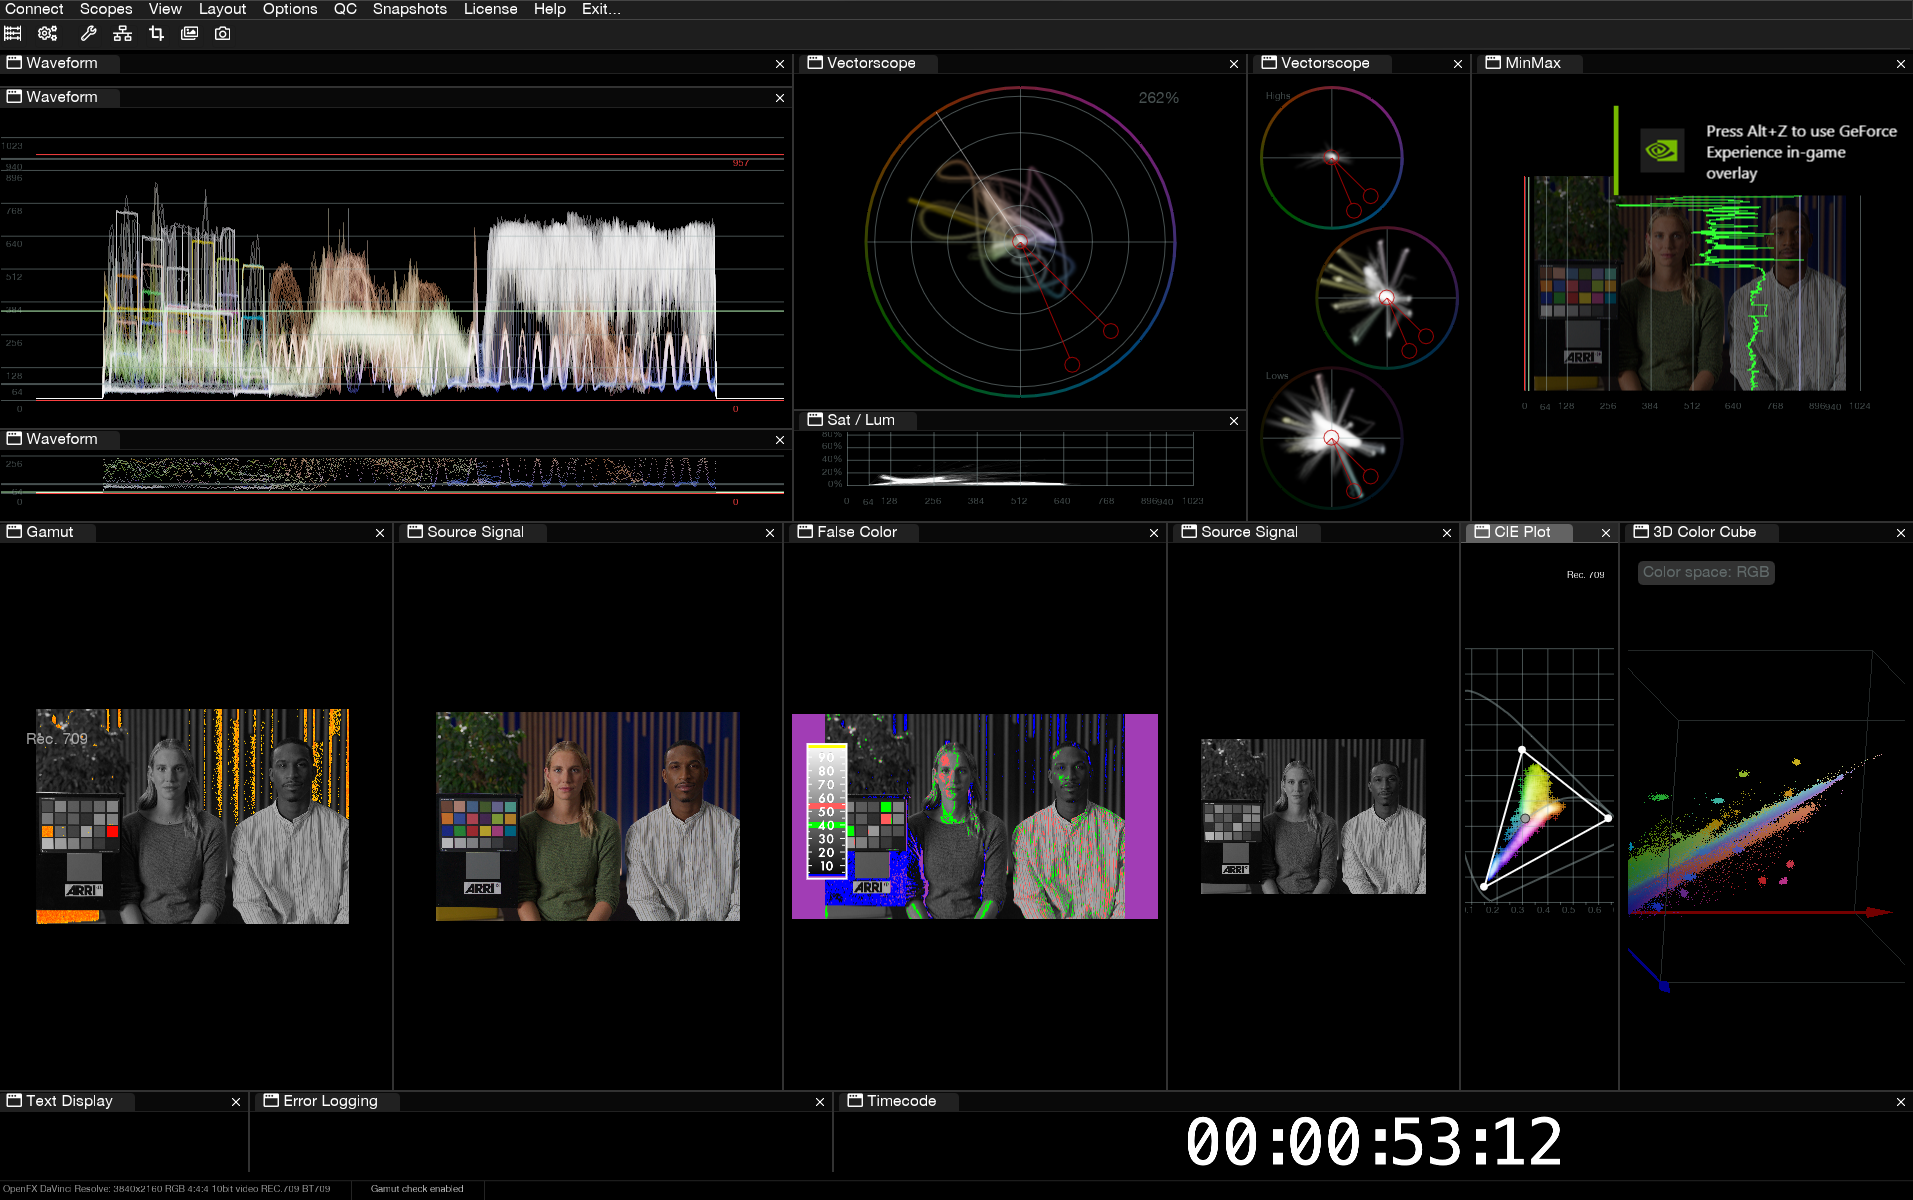
Within the Nobe software, we enjoy access to a diverse array of scopes. In this particular image, I’m making use of three Waveforms: one focused on highlights, another on shadows, and the primary waveform. Additionally, I’m employing a VectorScope, accompanied by three dedicated Vectorscopes tailored for Shadows, Mids, and Highlights.
Furthermore, I have access to tools like False Color, MinMax, 3D Color Cube, Histogram, Sat/Lum, CIE Plot, Source Signal, and Source Signal in Black and White.
What truly sets this tool apart is its remarkable level of customization. There are even more tools available than what I’ve showcased in this image.
This is my preferred layout, but I encourage you to explore and craft your own layout based on your unique needs and preferences.
Integration with Davinci Resolve
When it comes to linking your source signal with Nobe OmniScope, you have some convenient methods at your disposal.
1. Monitoring as OFX Plugin: You can integrate Nobe Omniscope directly into your editing or compositing software using the OFX plugin.
OFX on Davinci Resolve in Color Page
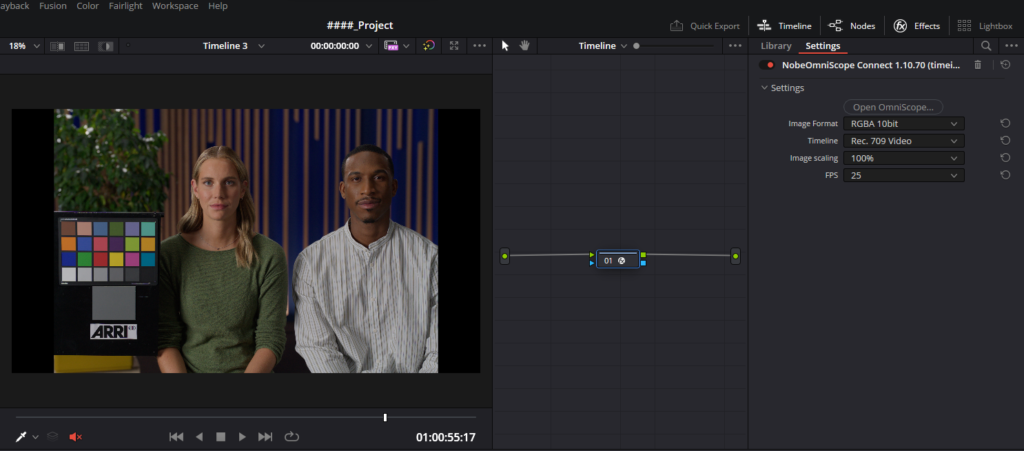
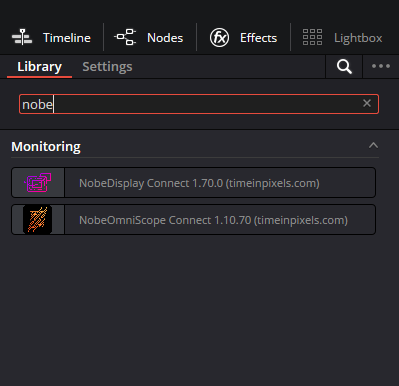
My recommendation is to create a new node on the timeline in the Color Page of DaVinci Resolve. In the Effects tab, search for ‘NobeOmniScope Connect’ and drag the OFX plugin into the node. When you drag the plugin, you can click ‘Open OmniScope,’ and the software will automatically open your Nobe OmniScope window.
OFX on Adjustment Clip on Edit Page
Using this plugin as an effect on the Edit Page requires setting it up correctly. To do so, access the effects section on the Edit Page and initiate a search for Adjustment Clip.
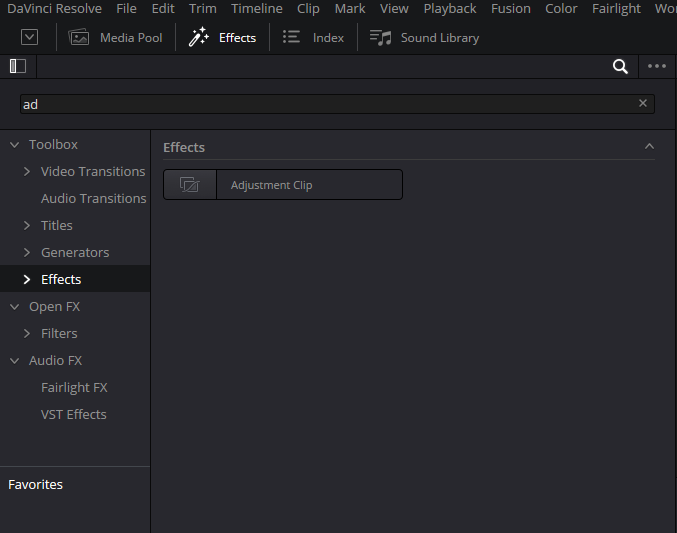

Next, drag the adjustment clip to the timeline, covering your entire edit. After setting up the adjustment clip, proceed to the Open FX section and search for the NobeOmniScope Plugin.
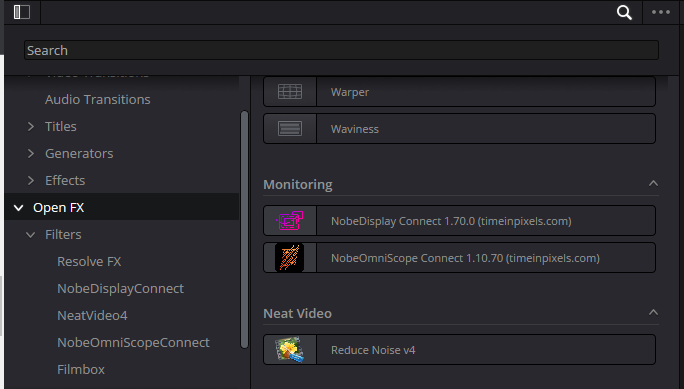
Next, drag the effect onto the adjustment clip. The ‘fx’ icon will now be visible on the adjustment clip in the timeline. Then, go to the ‘Inspector’ and, in the ‘Effects’ tab, open your Nobe Omniscope.

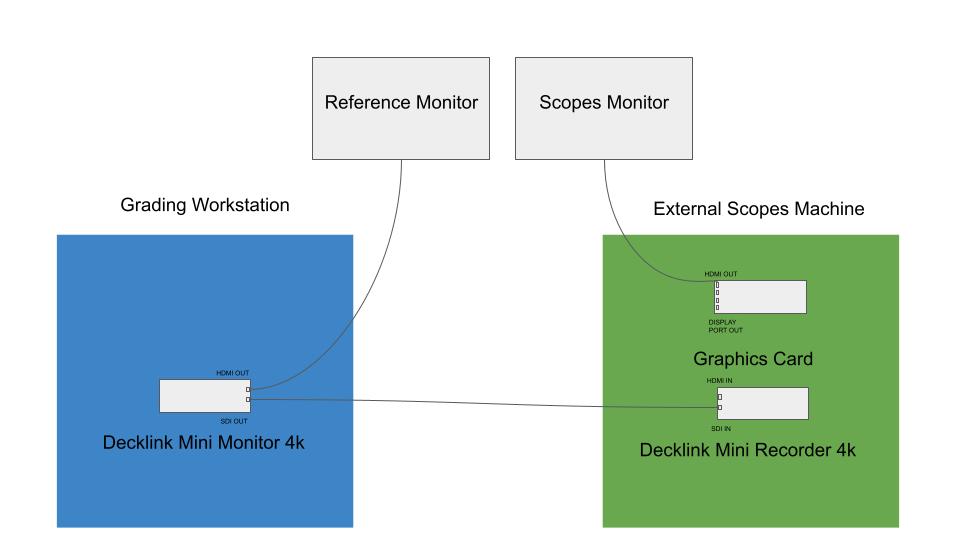
2. Signal from I/O Device: Connect your source signal using an I/O device, such as a Decklink Card or an Ultra Studio, for direct input into Nobe Omniscope.

In my view, the most efficient way to connect Nobe OmniScope to your workstation is by using it as external scopes. This ensures optimal performance on your grading workstation, while a separate machine manages the scopes. When used as an OFX plugin, your machine may experience some slowdown since the scopes are displayed by your graphics card. Although Nobe OmniScope offers powerful performance-enhancing tools for OFX usage, I personally find using it as external scopes to be a better choice. This setup involves two machines:
- Grading Machine
- External Scopes Machine
3. Signal from NDI Stream: Connect your source signal with NDI stream.
For this workflow, you can use two machines connected via streaming over Ethernet. These two machines should be on the same local network, allowing you to monitor the signal with a Nobe Display plugin in DaVinci Resolve and view it on the second machine with Nobe OmniScope. This is a great option if you don’t have a video I/O device.
The first step on machine 1 is to install Nobe Display and drag the node onto the timeline in DaVinci Resolve.
On the second machine, open Nobe OmniScope, and in the connection settings, ensure you have a connection from Nobe Display

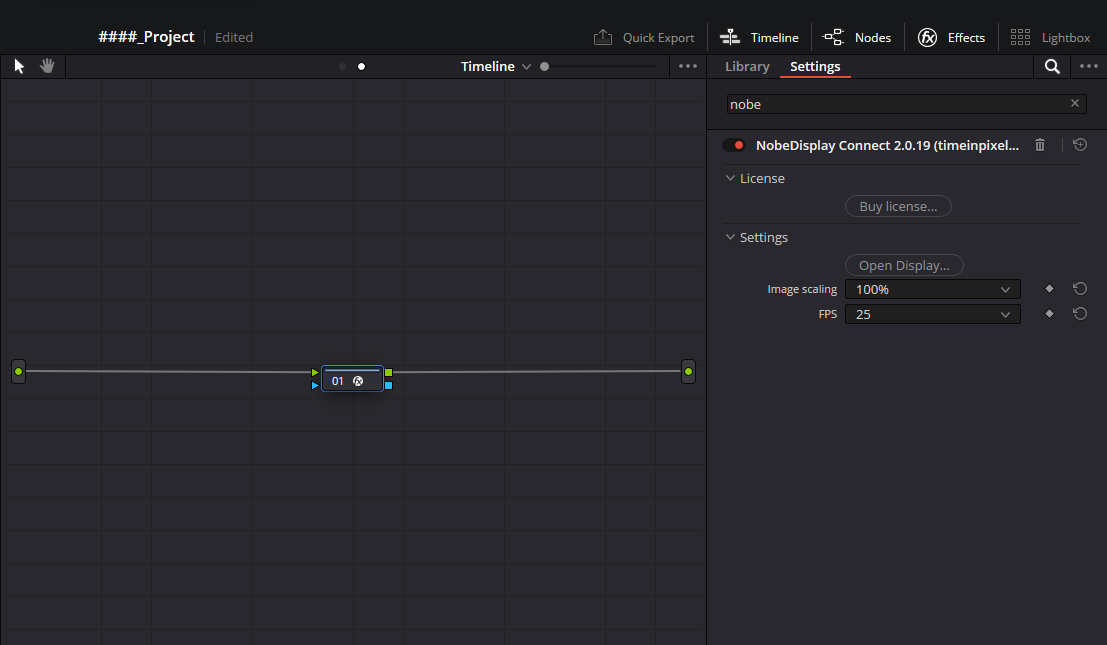

Click on ‘Nobe Display Connect,’ and you will receive the signal from your Resolve on Machine PC 01, allowing you to monitor it on your second PC via an NDI stream.
Choose the method that aligns best with your workflow and source signal for seamless integration with Nobe OmniScope.
Video Scopes on Nobe OmniScope
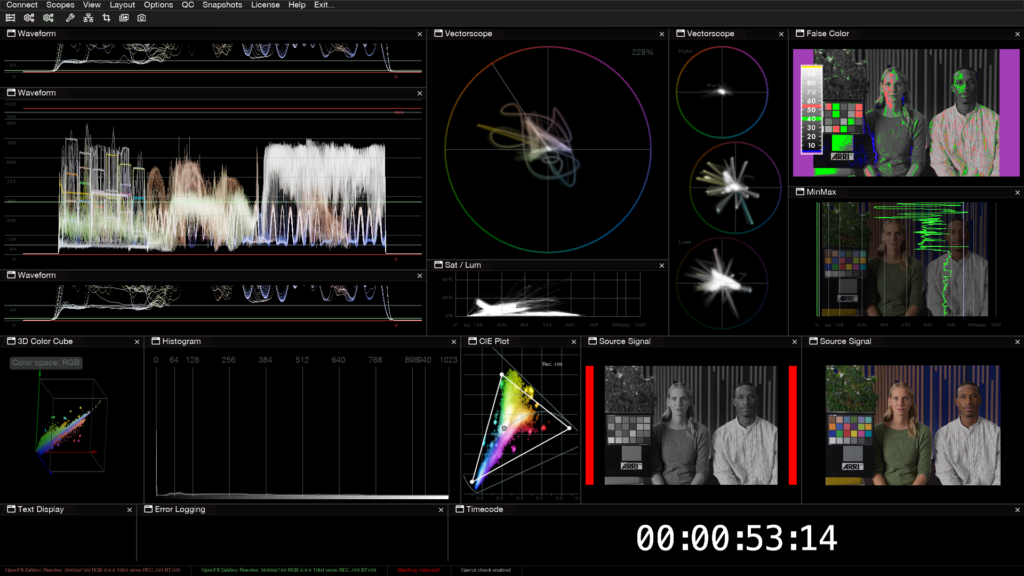
We offer a wide range of scopes in Nobe OmniScope, including:
With Nobe OmniScope, you can monitor your signal using tools like the waveform, RGB parade, and Vectorscope.
Additionally, you have access to various other scopes that can assist you in your day-to-day work, including text display, goniometer, error logging, audio meters, timecode, and more.
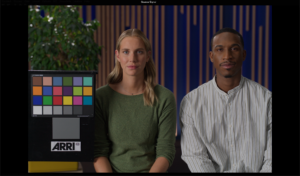 Source Signal
A source signal is a visual representation of your video signal.
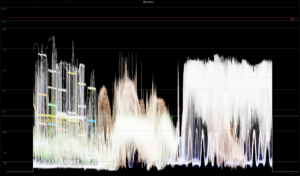 Waveform
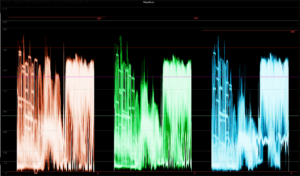
This scope displays a graph representing the luminance (brightness) levels of a video signal from bottom (blacks) to the top (whites). It’s invaluable for checking exposure levels and ensuring details are not crushed in the shadows or blown out in the highlights.
RGB Parade
This scope separates the video signal into its red, green, and blue color channels and displays them as separate waveforms. It helps in identifying color imbalances or shifts.

VectorScope
The Vectorscope displays the color information of a video signal. It shows color saturation and hue, making it helpful for color correction and ensuring consistent color balance across clips.

Sat/Lum
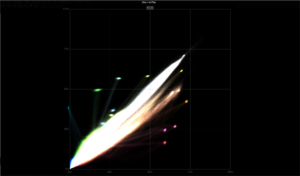
“Sat/Lum” refers to the relationship between saturation (color intensity) and luminance (brightness) in an image or video. It represents how the saturation of colors is affected by changes in brightness.
Channel Plot
A graphical representation or plot of individual color channels, typically in the RGB (Red, Green, Blue) color space.In video and image processing, a channel plot can be a visual representation of how the intensity or values in each color channel vary across an image or video frame.

CIE Plot
A CIE (Commission Internationale de l’Éclairage) plot, also known as a CIE diagram or CIE chart, is a graphical representation of colors in a standardized color space defined by the International Commission on Illumination. The CIE developed several color spaces to mathematically describe and quantify colors, and one of the most well-known is the CIE 1931 XYZ color space.
Histogram
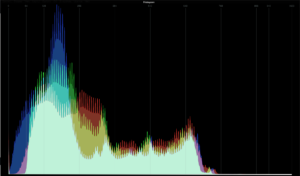
The histogram provides a graphical representation of the distribution of brightness levels in an image. It can be used to identify and correct exposure issues and assess overall tonal distribution.

False Color
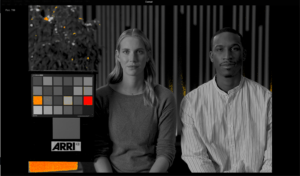
False color is a technique used in various fields, including imaging, remote sensing, and data visualization, where colors are assigned to represent data or information that is not inherently in color. It is used to enhance or highlight certain aspects of the data, making it easier to interpret or analyze. It’s very useful to read middle gray and skin tone levels.
Gamut Scope
The Gamut Scope is highly valuable in the color grading process, serving as a dependable tool for verifying color accuracy. It enables a clear visualization of areas that extend beyond the gamut range. Areas beyond the gamut are represented in red, indicating they are outside the gamut, while yellow or orange denotes colors closer to the gamut’s edge. The scale is a gradient transitioning from yellow to red.Gamut Scope helps you keep track if your pixels are within P3 gamut when input signal is Rec2020 (ST2048 PQ).
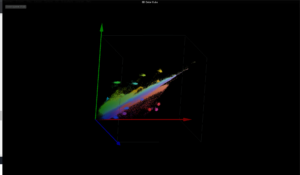
3D Cube
The 3D cube visually represents a signal in a three-dimensional format, making it an invaluable tool for the creation of 3D LUTs and look development.
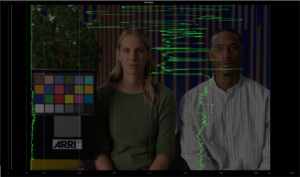
MinMax
This scope provides a good representation of the minimum and maximum signal values. It proves essential for identifying areas in your clips where information may be lost. When the black or highlight levels exceed a customizable threshold, the green lines transform into red, signaling potential issues.
Quality Control (QC) with Nobe OmniScope
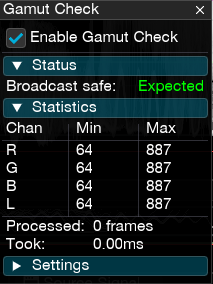
Gamut Check
With these tools, you can configure your Nobe for legal or full-range setups. While grading, in real-time, you have a tool that checks your gamut, displaying Expected or illegal warnings as needed.

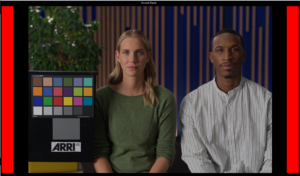
Blacking Detection
When you activate the blacking detection, you will see a red signal on your source signal, indicating the presence of a black area outside your current image but within your timeline resolution. In nearly 90% of cases, this signifies an issue in the editing process, and resizing the image is often necessary.
Error Logging
This menu serves as an excellent quality control (QC) tool that enables you to view your project in real-time. You can initiate your logging process, and if Nobe detects any out-of-gamut or blacking issues, it will pinpoint the location of the problem. Think of it as a QC report for your project.

HDR Status
Here you can see the MaxFall and Max CLL values to be carefull about nits values when you are mastering for HDR work.

QC Timeline and EDL Export
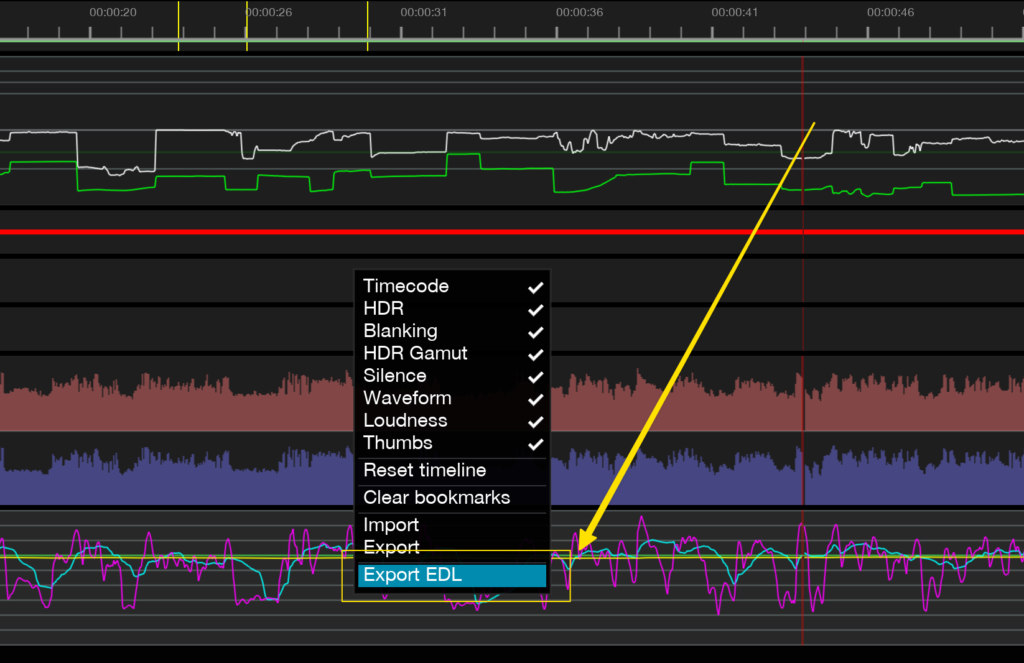
With this new feature, you have the opportunity to view your playhead and conduct a comprehensive review of your timeline. You can monitor elements such as timecode, HDR status, including Max Fall and Max CLL values, black level detection issues, HDR Gamut, and audio meters, including waveform and loudness. When you need to make corrections, you can easily export an EDL to your DaVinci Resolve.

My notes
In my opinion, this is an excellent application for colorists and DITs. It’s amazing how you can monitor your project details, and this software helps you reduce errors. We are all human, and sometimes we have many things to keep track of. Nobe OmniScope is a tool that helps me maintain consistency and minimize errors. It is a tool that accompanies me in all projects, and it undoubtedly is a part of my core set of essential tools.
When people ask me about the difference between these scopes and the native DaVinci Resolve scopes and whether they should invest in this tool, the answer is not that you can’t do excellent work with DaVinci Resolve scopes. You can certainly achieve high-quality results with the built-in scopes. However, there comes a point where the DaVinci Resolve scopes may have limitations when compared to Nobe OmniScope. This application offers customization options that can be tailored to your specific needs and the requirements of your projects. You can set up multiple targets on your waveforms and even on the vectorscope; this is a great tool for me! When I’m trying to get False Color on DaVinci Resolve, it seems to be very complicated when I’m working in scene-referred space with node transforms.
So, for me, this is a great tool that everyone needs to experiment with!
Get Nobe OmniScope with 15% Discount
New Users: If you don’t have an active license of OmniScope, we now have a 2-week free trial. Simply download and “request trial” in the app.
https://timeinpixels.com/nobe-omniscope/
DISCOUNT CODE: Hugo-OmniScope15
If you want to explore more details about Nobe OmniScope, you can visit the following website for comprehensive information.
https://docs.timeinpixels.com/
- hugosoarescolorist@gmail.com

